How to Read a Quilt Pattern: Step-by-Step Walkthrough
- Kae Robbins
- Apr 11, 2025
- 5 min read
Updated: Apr 15, 2025

You're not alone if you've ever picked up a quilt pattern and felt like you were trying to decode a secret language. Quilt patterns can feel overwhelming at first, especially when you're new to the craft. But here's the good news: once you know how to break them down, you'll find they follow a pretty consistent structure. With a little guidance (and maybe a cup of tea), you'll be confidently reading quilt patterns like a pro in no time.
In this walkthrough, we’ll demystify the most common elements found in quilt patterns, explain unfamiliar terms and symbols, and share some helpful tips to keep you organized and stress-free as you stitch your way to a beautiful quilt.
The Overview: What Are You Making?

Every quilt pattern starts with a summary or overview of the project. This section usually includes:
Quilt name: Sometimes playful, sometimes descriptive ("Meadow Breeze" or "Nine-Patch Delight").
Finished size: The dimensions of the quilt when it's finished, including borders.
Difficulty rating: Patterns are often marked as beginner, intermediate, or advanced. (Tip: If you're just starting, look for patterns labeled beginner or confident beginner.)
Photo or illustration: This gives you a visual idea of what the finished quilt should look like.
Take a moment to look over this section and ask yourself: Do I like the design? Is the size right for my needs? Am I comfortable with the techniques mentioned?
Fabric Requirements
This section tells you what you'll need to make the quilt top (and sometimes backing and binding too).
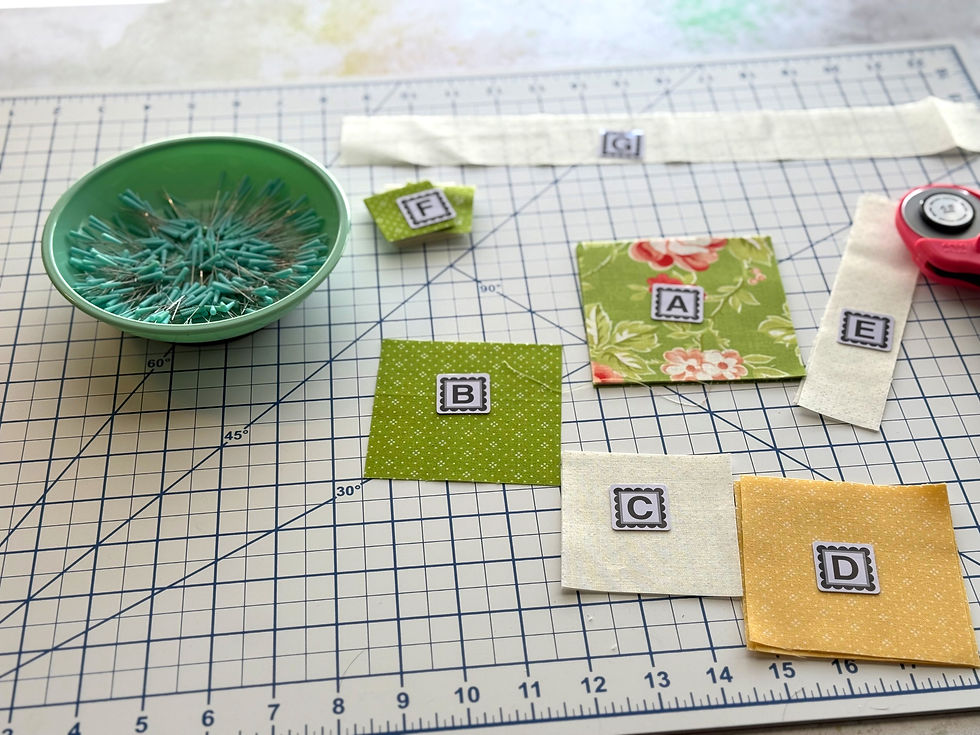
Types of fabric: Fabric may be listed by color, print or labeled as Fabric A, B, C, etc.
Amount needed: Usually given in yards or fat quarters (a popular pre-cut fabric size).
Optional extras: Some patterns also list recommended tools or notions.
Helpful Tip: If the pattern calls for specific fabrics by collection (like "Floral Fiesta by Moda"), don’t worry if you want to use something else. Just match the general color and tone. A swatch card or fabric pull can help you stay coordinated.
Cutting Instructions

This part gets into the nitty-gritty. You’ll be told exactly how to cut your fabric. The cutting instructions are usually listed by fabric letter or color.
For example:
Fabric A: Cut (6) 4.5" x 4.5" squares
Fabric B: Cut (4) 2.5" x WOF strips (WOF = Width of Fabric)
Common terms to know:
WOF (Width of Fabric): The usable width of fabric from selvage to selvage, typically 40-44 inches.
Subcut: After cutting a strip, you might need to cut it again into smaller pieces.
Stay Organized Tip: Label your pieces! Use sticky notes, painter's tape, or small zip-top bags to keep each fabric and its cuts organized.
Piecing Diagrams and Instructions
This is where the quilt comes together. The piecing instructions show you how to sew the cut pieces into blocks.
What you’ll typically see:
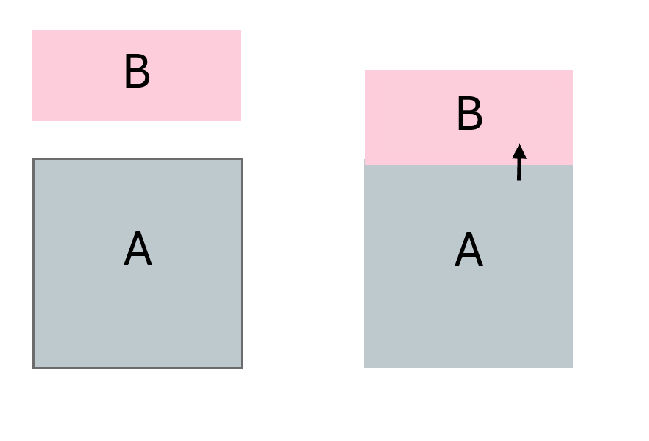
Step-by-step written instructions: "Sew one Fabric A square to one Fabric B rectangle. Press seam toward B."
Diagrams: Visuals are a big help here. They show how the pieces should look at each step.
Symbols and terms to know:
Right sides together (RST): This means the patterned sides of two fabric pieces should face each other when sewing.
Press seams: You'll often be told which direction to press seams (to the dark side, open, etc.). This helps reduce bulk and improves accuracy.
Chain piecing: A time-saving technique where you sew multiple units in a row without cutting the thread.
Don’t stress if your block isn’t exactly perfect the first time. Quilting is a skill that grows with practice.
Seam Allowance
Most quilt patterns assume a ¼" seam allowance (that’s a quarter-inch seam). This might seem tiny, but it's standard in quilting and helps ensure everything fits together just right.
Tips for accurate seams:
Use a quarter-inch foot on your sewing machine if you have one.
Test on scraps first to check your seam width.
Measure with a ruler if needed to double-check.
Inconsistent seams are one of the most common beginner hiccups—but with a little attention, you’ll quickly build muscle memory.
Layout Diagrams
Once your blocks are made, the pattern will show you how to arrange them to form the quilt top. This often includes:
Block layout diagrams: These look like a quilt map, showing where each block goes.
Row instructions: You might be told to sew blocks into rows and then sew the rows together.
Helpful Tip: Lay out your blocks on a design wall (or even the floor!) before sewing. Snap a photo to reference later in case anything gets shuffled.
Borders and Sashing (if included)
Many quilt patterns include borders or sashing (the strips between blocks). These add structure and size to your quilt.
You’ll find instructions like:
"Sew 2.5" border strips to the left and right sides of the quilt top. Press. Repeat for top and bottom."
Measure your quilt top before cutting border strips—fabric can stretch slightly during piecing, so measurements might vary slightly.
Finishing: Quilting and Binding

This part takes your quilt top to a finished quilt.
Quilting: This is the stitching that holds the quilt top, batting, and backing together.
Some patterns suggest quilting designs or techniques (straight-line, free-motion, etc.).
You can do this by hand or machine, or send it to a longarm quilter.
Binding: The final step is attaching a fabric strip around the edges of the quilt to finish it off.
You'll see instructions like "Cut (4) 2.5" x WOF strips for binding."
The pattern may describe how to join strips, attach binding, and miter corners.
Supportive Note: Don’t let finishing intimidate you! Binding gets easier each time you do it, and there are great tutorials online to walk you through it.
Staying Organized: Your Quilter’s Toolkit
Here are a few tips to help you stay on track while working through a pattern:
Print the pattern (if digital) and check off steps as you go.
Use a highlighter to mark cutting instructions as you complete them.
Label fabric pieces with painter's tape or sticky notes.
Keep everything together in a project box or bag.
Take your time. Enjoy the process, and don’t rush.
Quilting isn’t a race—it’s a creative journey.
Final Thoughts
Reading a quilt pattern is a skill, just like cutting fabric or sewing a straight line. The more you practice, the more natural it becomes. Don’t be afraid to ask questions, join quilting groups, or look up tutorials. Every seasoned quilter started exactly where you are—staring at a pattern, wondering what a half-square triangle is.
So go ahead: Pick a pattern that excites you, pull out some beautiful fabric, and get started. You’ve got this!
Happy quilting!


Comments